Bugsink on Coolify

Bugsink is the error tracker tool I built to help developers track and fix errors in their applications. It has a strong focus on being easy to self-host.
Coolify is an open-source, self-hosted Heroku alternative that simplifies deploying applications and services.
Recently, I noticed that the Coolify community had integrated Bugsink into their platform without any prompting from me. This made me wonder how the coolify experience of Bugsink would be.
Although the integration was already very well done, it was made clear to me that there were some improvements that could be made to the health check functionality (first in Bugsink itself, and then in the Coolify integration).
This gave me a double reason to verify the integration of Bugsink into Coolify: to see how that experience was, and to test the improvements to the health check functionality.
This article briefly describes that experience.
Getting Started with Coolify
Coolify is a “bring your own server” platform, which means you need to have a server ready to deploy applications and services. For Coolify itself (the management platform), you can choose between deploying it yourself or using the Coolify-hosted version.
For the server to bring, I simply clicked on the cheapest Hetzner VM I could find, which was a CX22, 2 vCPUs, 4 GB RAM, 40 GB with a dedicated IP.
For Coolify itself I went with the hosted option. This was the “let’s see what we can do in 30 minutes” approach; for a real deployment I would at least have seriously considered deploying Coolify myself.
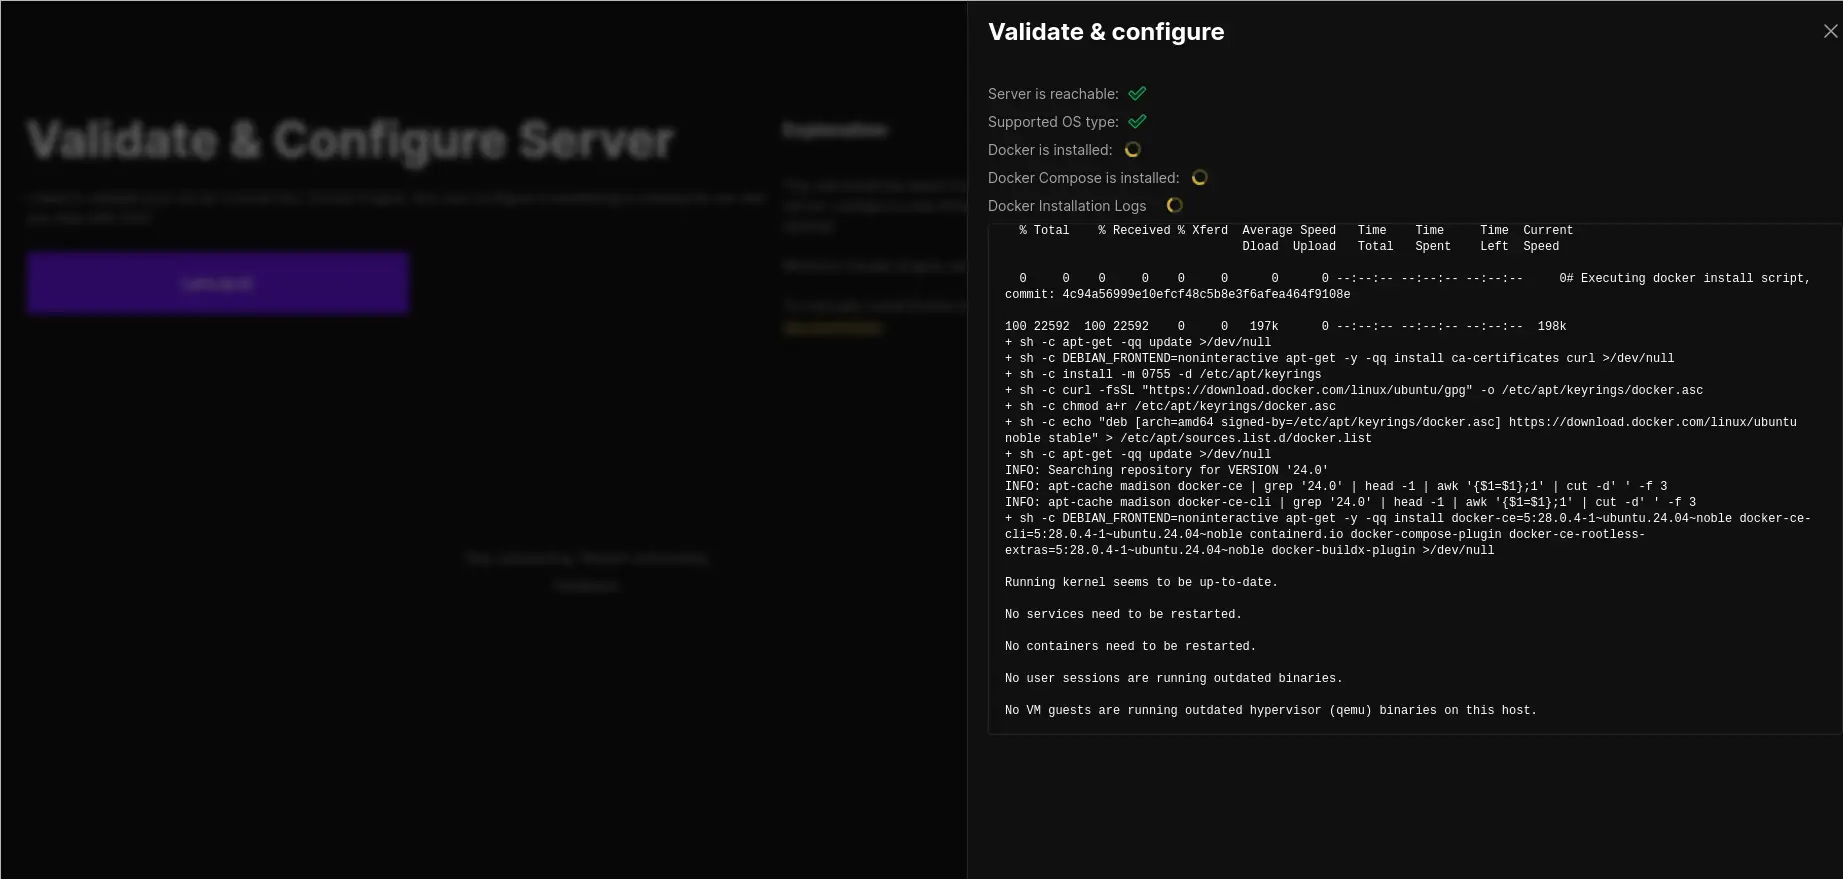
Installation was a breeze; I chose to let Coolify generate the private key, uploaded the public key hetzner-side, and was presented with the screen below.
Deploying Bugsink on Coolify
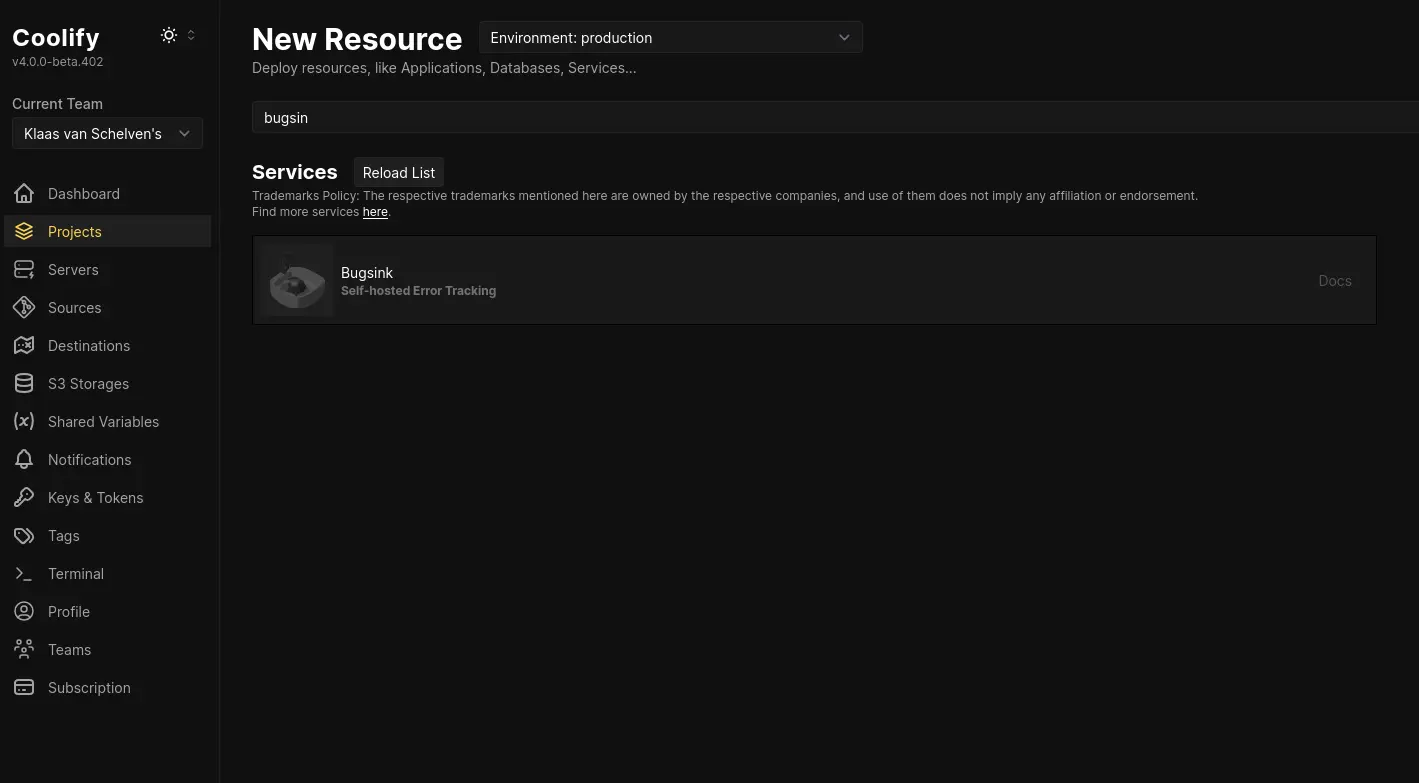
Because of the work done by the Coolify community, Bugsink is available as a resource in the Coolify dashboard. This means that deploying Bugsink is as simple as selecting it from the list of available resources.
Configuring Bugsink in Coolify
After selecting Bugsink, proceed with the configuration by specifying the necessary environment variables and settings as per your deployment needs.
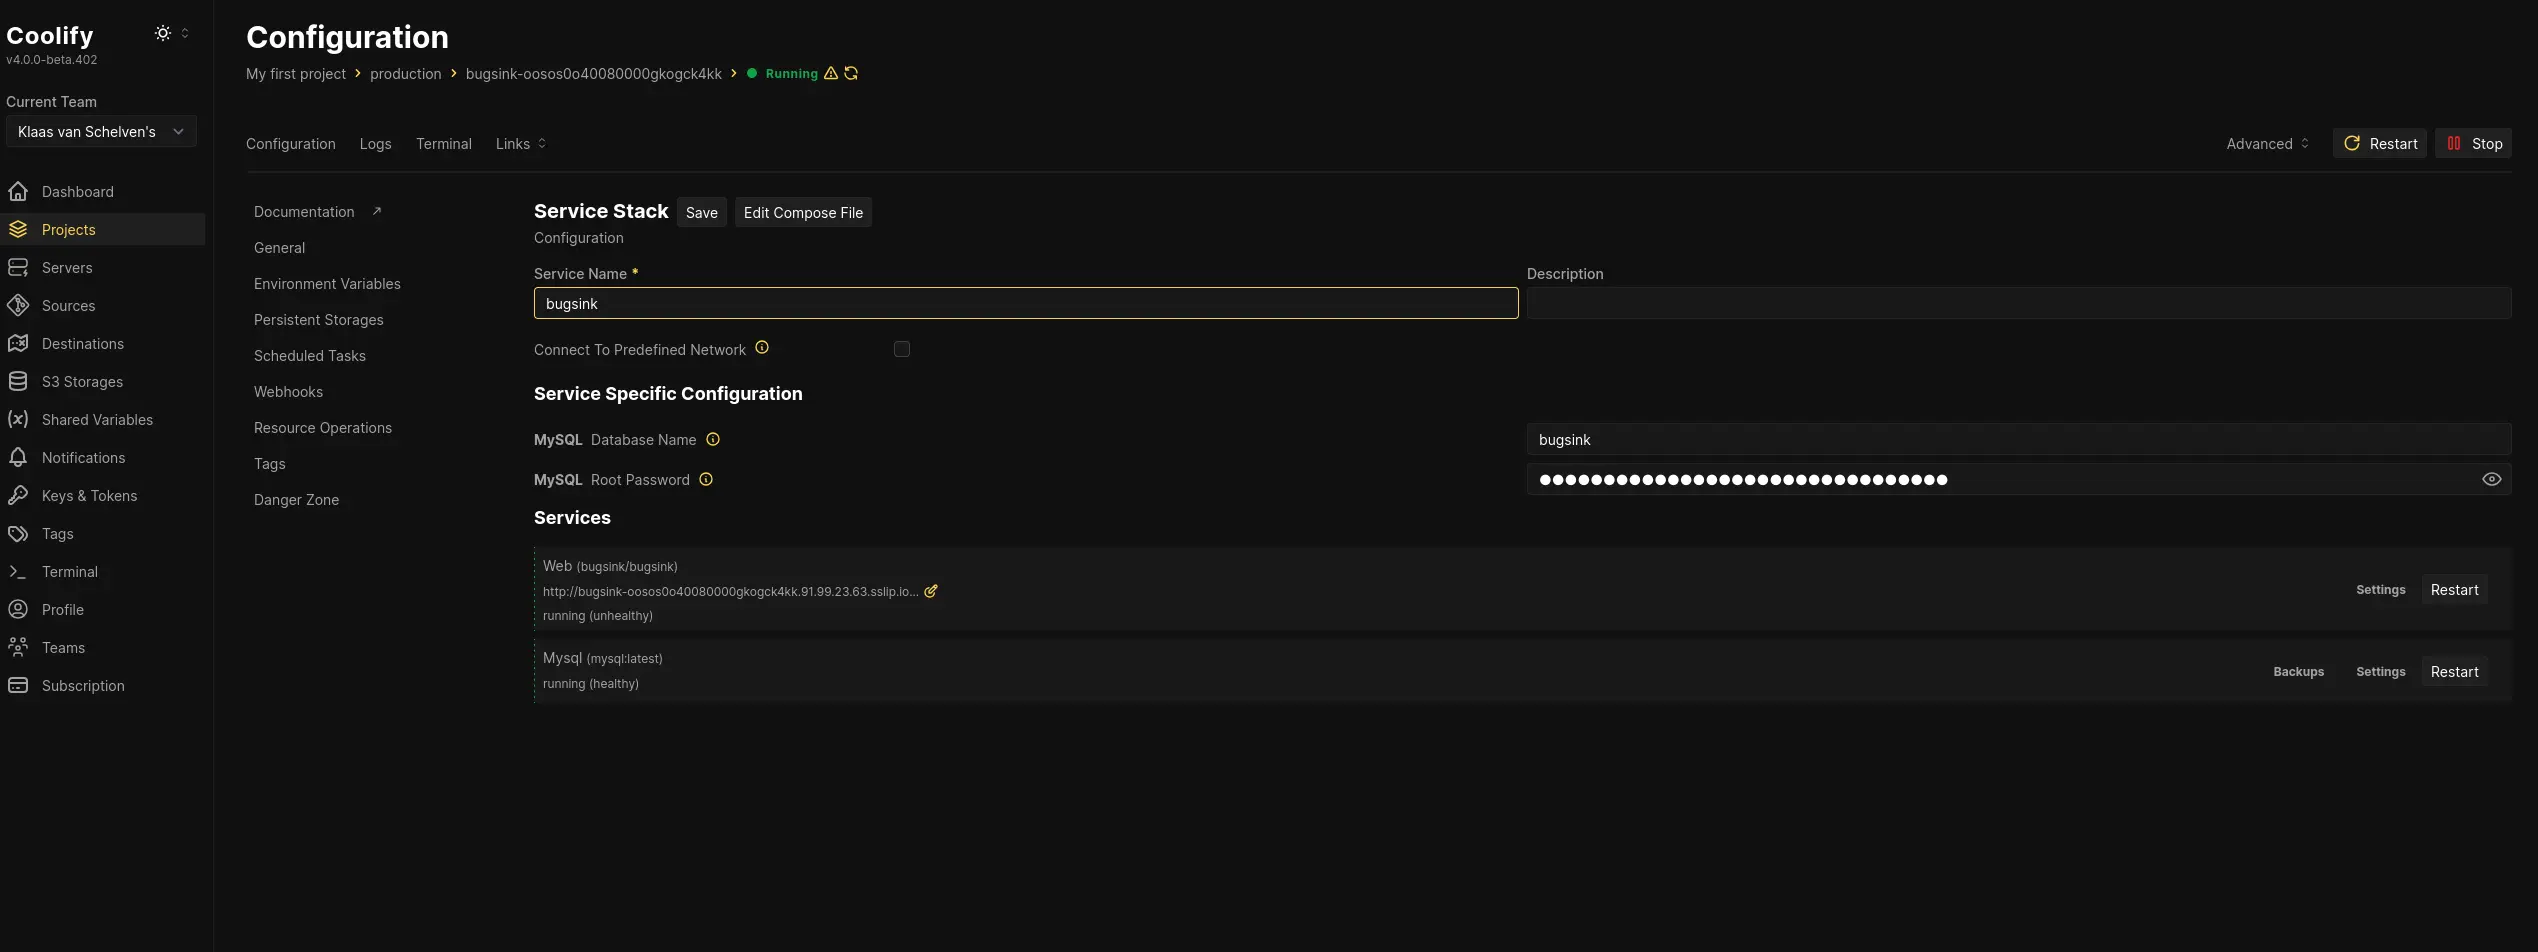
For the quick test, I used the default settings but changed the name into something more readable.
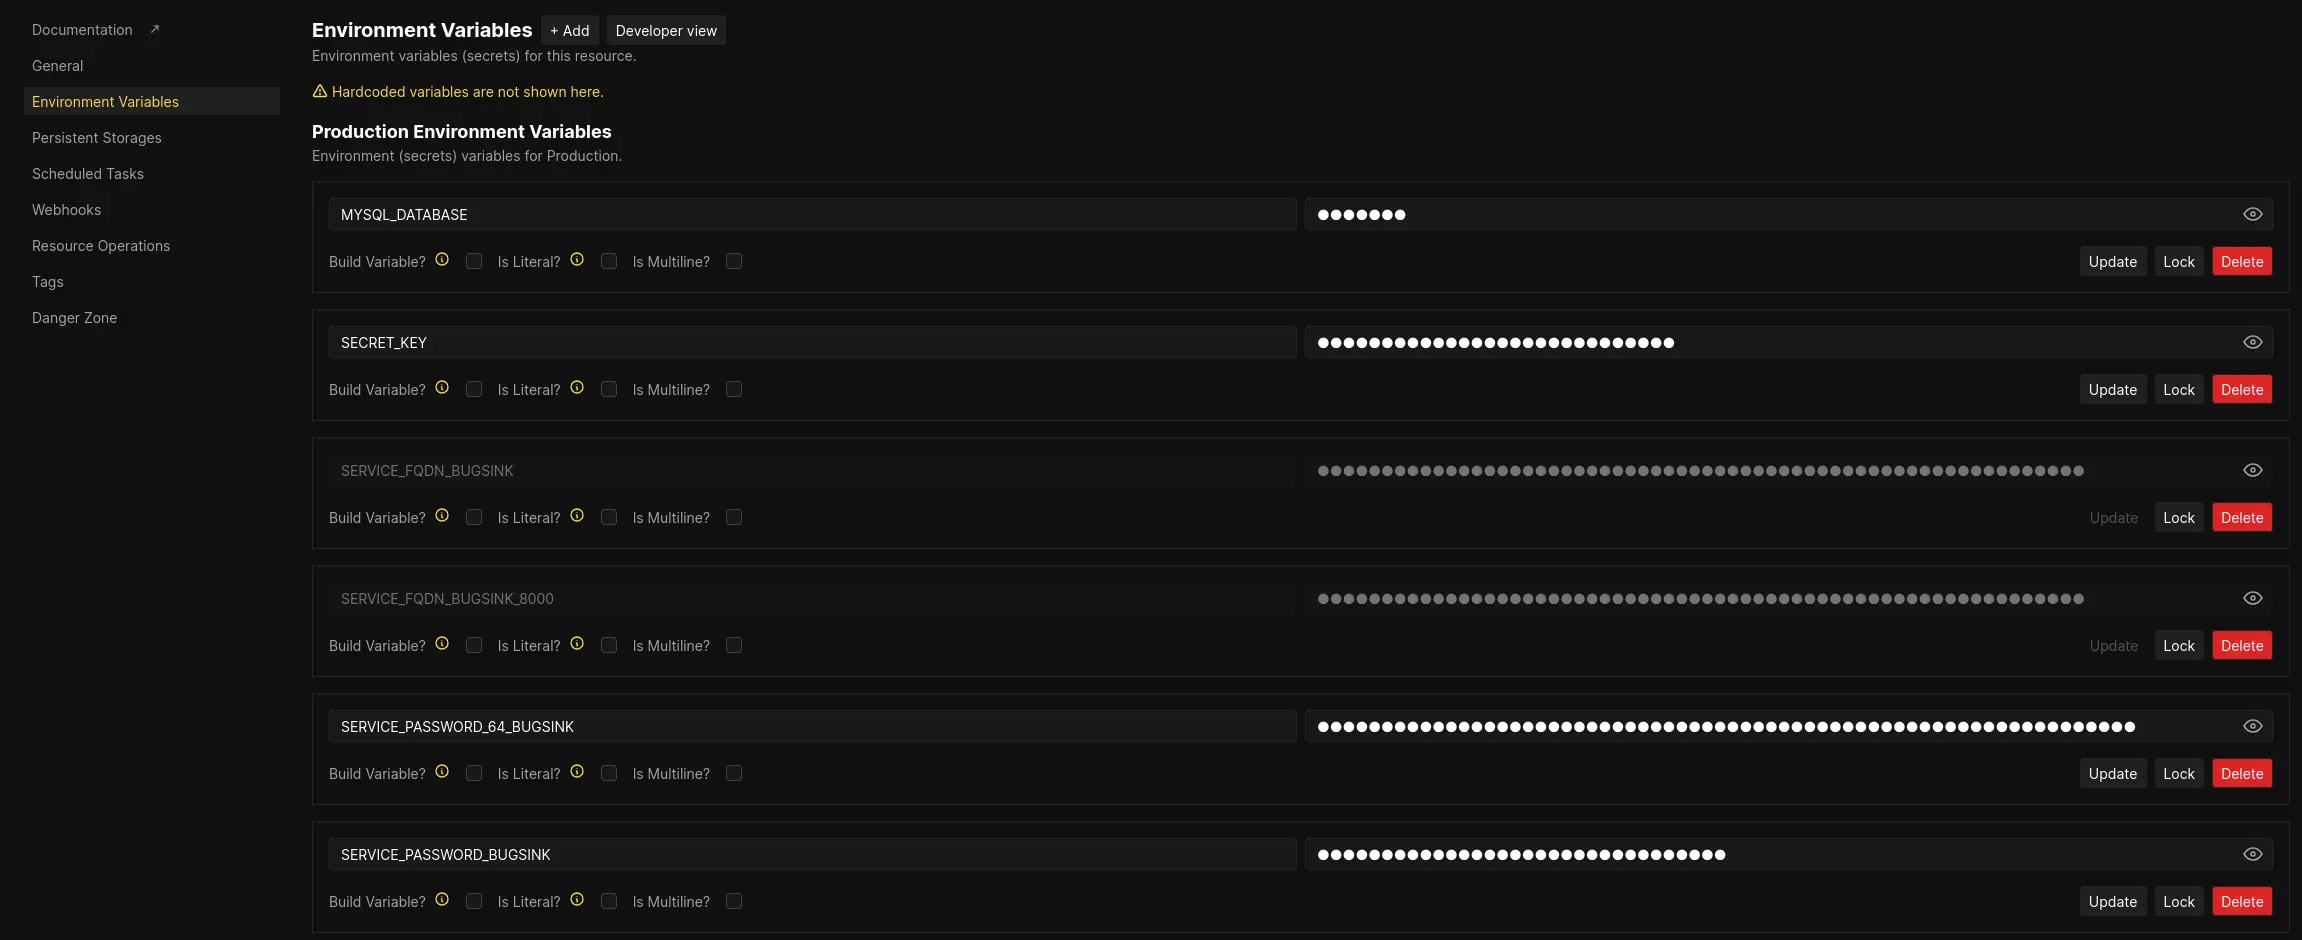
For the real setup, a more thorough check of the environment variables would be needed. A positive
suprise: BASE_URL is already automatically set to the SERVICE_FQDN_BUGSINK_8000, i.e. the domain name of the Coolify
instance.
Retrieving the Admin User Password
Once Bugsink is deployed, obtain the admin user password from the service logs or the environment variables set during configuration.
The default template uses the SERVICE_PASSWORD_BUGSINK as the password for the admin user. It can be exposed by
clicking on the “eye” icon in the list of variables.
Accessing the Bugsink Login Page
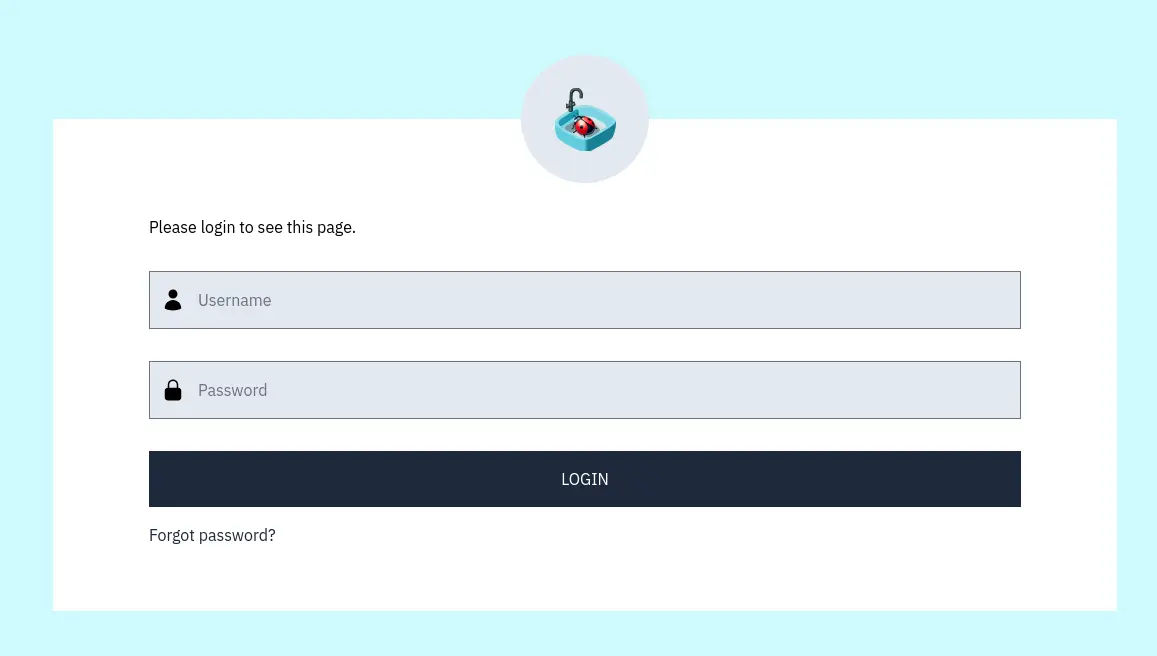
With the setup complete, the Bugsink login page becomes accessible at the configured domain or IP address.
Just go there, put in admin and the password you just looked up, and you’re good to go.
Next step: the after-install quickstart.
Conclusion
I was pleasantly surprised by how easy it was to deploy Bugsink on Coolify. Of course, I’m quite familiar with Bugsink and the effort that went into making it easy to deploy, but seeing it in action on Coolify was a great experience.
The whole process (including provisioning the servers and signing up for Coolify) took me less than 30 minutes. Credit where credit is due though: getting started with Coolify itself was a breeze (kudos to the Coolify team) and the integration of Bugsink into Coolify was seamless (kudos to the Coolify community).
